Architectural shingles are a popular roofing choice because they are strong, stylish, and long-lasting. Many homeowners ask: how to install architectural shingles. The process involves careful planning, proper nailing, and following a clear layout. With the right tools and knowledge, installation can be done smoothly. This guide shares step-by-step instructions, common mistakes to avoid, and tips for finishing touches like ridge caps and proper overlapping. By the end, you’ll know exactly how to handle an installation that keeps your roof secure and looking sharp.
Understanding the Basics of Architectural Shingles
Architectural shingles, also called dimensional shingles, are thicker than standard three-tab shingles. They have a layered look that adds depth and style to a roof. Made from asphalt and fiberglass, they are built to resist weather and last longer than many other roofing options. Before starting installation, it’s important to know that they are heavier than regular shingles and require precise placement. When installed correctly, architectural shingles not only improve a home’s appearance but also provide strong protection against rain, wind, and sunlight.
Why Homeowners Choose Dimensional Shingles for Their Roofs
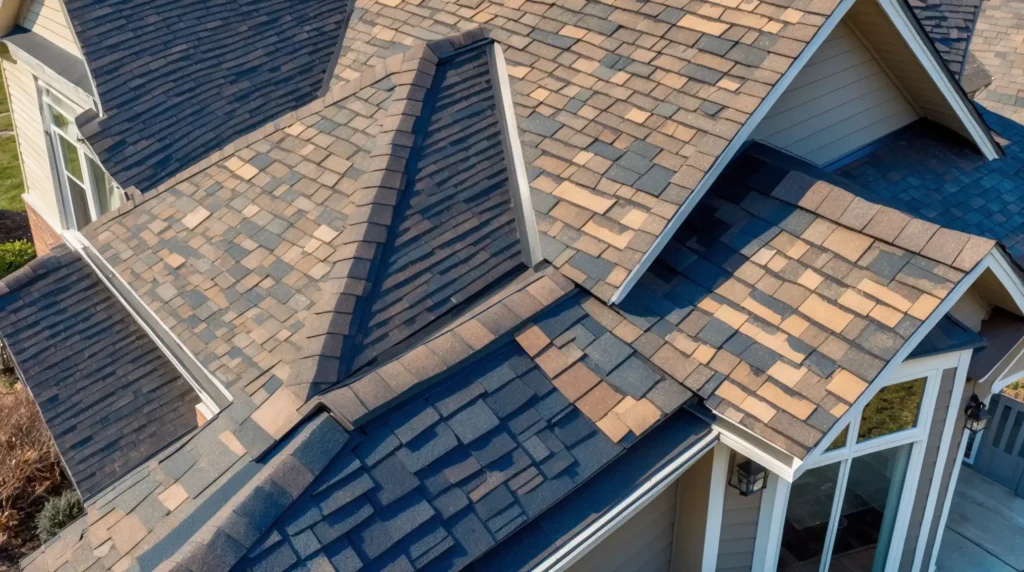
Dimensional shingles are often chosen because they combine both function and design. Their layered style mimics the look of wood or slate at a lower cost. They also come with better warranties than three-tab shingles. Homeowners like them because they can handle high winds and resist curling over time. Another benefit is the color variety, which makes it easier to match with siding or trim. Choosing dimensional shingles is not just about looks, but also about investing in a roof that provides long-lasting value and peace of mind.
Tools and Supplies Needed Before Installation Begins
A successful roofing project begins with preparation. Before starting, gather all the right tools and materials. You’ll need:
- Roofing nails or coil nails for a nail gun
- Hammer or pneumatic nail gun
- Utility knife with extra blades
- Chalk line for straight guidelines
- Starter strips or cut shingles
- Roofing underlayment such as felt or synthetic rolls
- Roofing adhesive (optional in cold climates)
- Ridge cap shingles for the final layer
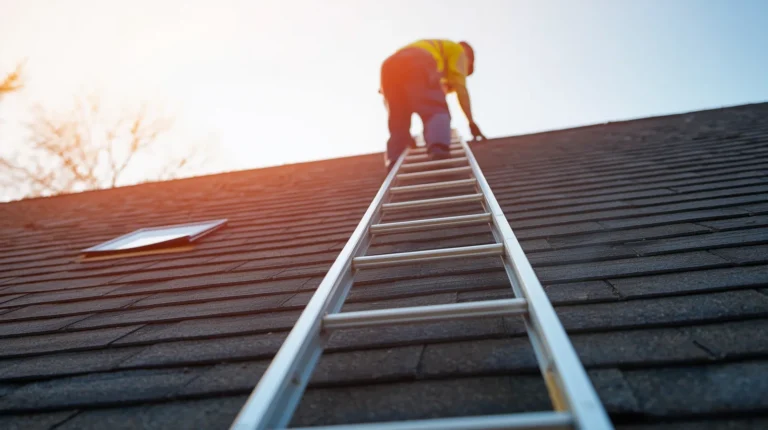
- Ladder, harness, gloves, and safety glasses
Safety is as important as the tools themselves. Working on a roof means you should use a stable ladder, non-slip shoes, and fall protection gear. Laying out everything in advance prevents mistakes and makes the process smoother.
How to Start Architectural Shingles the Right Way
Starting correctly is one of the most important steps in roofing with architectural shingles. Begin by laying a starter strip along the roof edge. This helps create a solid base and prevents water from sneaking under the first row. Place the first shingle carefully, following the chalk line for guidance. Make sure the edge aligns straight, as this will affect the rest of the rows. A strong start prevents gaps and crooked lines. With patience, you’ll set the foundation for the entire roofing process.
Where to Nail Architectural Shingles for Lasting Strength
Nailing matters when it comes to keeping shingles in place. Each shingle should be nailed just below the adhesive strip. Four nails per shingle are common, but in areas with high wind, six nails are recommended. Avoid nailing too high or too low, as this can cause shingles to loosen. Nails should sit flush with the surface, not driven too deep. Proper nailing prevents leaks, secures shingles during storms, and extends the life of your roof. Following this simple rule can save costly repairs later.
Step-by-Step Guide: How to Install Architectural Shingles
Prepare the roof deck
Before shingles are installed, the roof deck must be inspected. Remove all old roofing, loose nails, and debris. Check for damaged wood or soft spots, as these should be replaced before moving forward. A clean, flat surface ensures the shingles sit properly and helps them seal against the underlayment. Skipping this step could lead to uneven rows or water problems later.
Lay the underlayment
Roll out roofing underlayment across the deck, starting at the bottom edge and working upward. Each strip should overlap the one below by at least 2–4 inches. Secure it with roofing nails or staples. The underlayment acts as a moisture barrier, keeping rain and snow from reaching the roof deck if shingles lift or fail. In colder areas, an ice and water shield may also be added along eaves and valleys for extra protection.
Install the starter strip
Starter strips are critical for sealing the first row of shingles. They prevent water from seeping under the edges and help fight wind uplift. You can buy starter shingles or cut standard shingles lengthwise to create your own. Place them along the eaves with the adhesive strip facing up and toward the roof edge. This layer anchors the very first course of shingles and sets the stage for a straight installation.
Place the first full shingle
Using a chalk line as a guide, align your first shingle carefully at the bottom edge of the roof. Position it so it slightly overhangs the drip edge to direct water into the gutter system. Nail it into place according to manufacturer instructions, usually just below the adhesive strip. Take your time with this first row, because a crooked start will affect the rest of the roof. Precision here makes the job easier later.
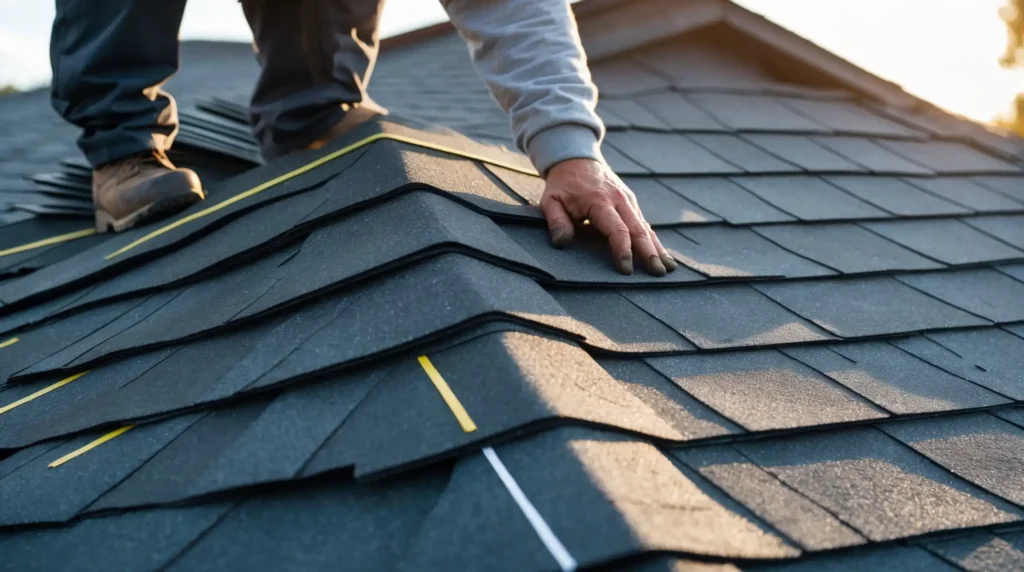
Work upward with overlapping rows
Once the first row is in place, continue by laying shingles upward in overlapping rows. Each new row should cover about half of the shingle beneath it. This overlap creates a strong layered barrier against water. Always work from one side of the roof to the other, keeping rows even. Overlapping rows properly also improves the roof’s ability to shed water and resist wind damage.
Stagger the seams
Never line up shingle seams in a straight vertical line. Doing so leaves weak spots where water can seep through. Instead, stagger the joints by cutting off six inches of the first shingle in the second row, twelve inches in the third row, and continue this pattern. This staggering method makes the roof stronger, improves water resistance, and creates a more professional-looking finish.
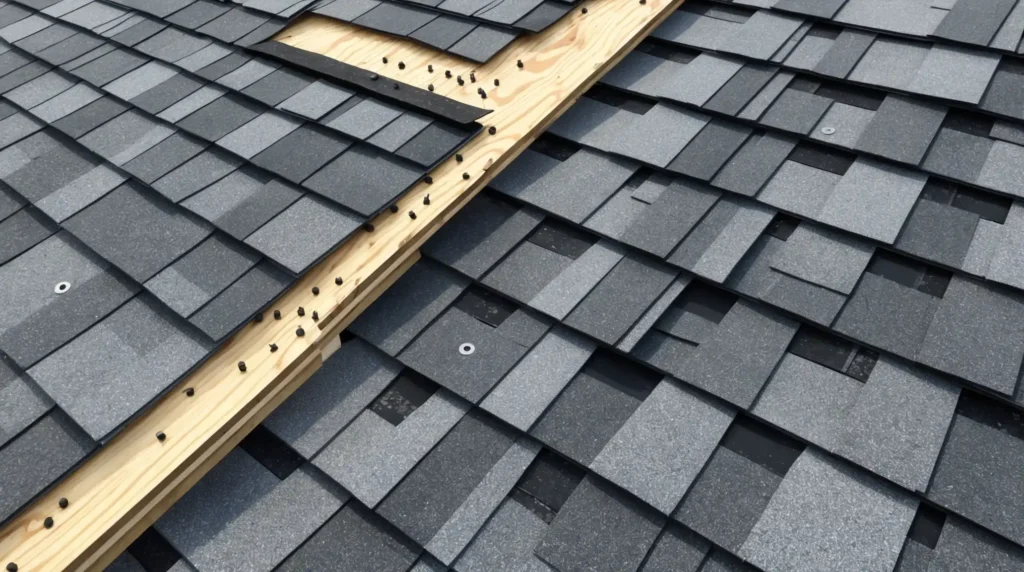
Trim shingles at edges and valleys
When you reach roof edges, valleys, or areas around vents and chimneys, measure carefully and cut shingles to fit. Valleys are especially important, since they handle large amounts of water flow. Trim shingles with a sharp utility knife and make sure overlaps are neat and secure. Poor cutting or sloppy overlaps in valleys often lead to leaks, so extra attention here pays off in the long run.
Check alignment often
Every few rows, step back and check your progress against the chalk line. Shingles that drift out of line not only look unprofessional but can also create water traps. Straight rows are stronger and more attractive. If you notice a slight drift, correct it immediately before continuing. Taking a few extra minutes to double-check alignment saves time and effort later.
Install ridge cap shingles
The ridge cap is the final step in covering the roof. These shingles are designed to bend over the peak and overlap each other, sealing the top seam. Place the first ridge cap at one end of the roof peak and nail it in place. Continue overlapping each piece, making sure the nails are covered by the next cap. A properly installed ridge cap not only prevents leaks but also gives the roof a finished, polished appearance.
Inspect the finished roof
Once installation is complete, inspect the entire roof carefully. Look for missed nails, uneven overlaps, or loose shingles. Check valleys, ridges, and edges to confirm they’re sealed tightly. A good inspection ensures the roof will perform well in all weather conditions. Taking this time at the end helps avoid surprises later and guarantees your work will last for years.
How to Lay Architectural Shingles on a Roof Effectively
Laying shingles is about more than just placing them on the roof. Keep the chalk lines visible so rows stay even. Begin each new row by cutting a portion of a shingle to stagger joints. This prevents water from sneaking between seams. Valleys require careful cutting so shingles overlap without leaving gaps. Always check alignment after every few rows. Installing dimensional shingles correctly means paying attention to detail at each step. When done well, the finished look is clean, balanced, and secure against the weather.
Proper Staggering and Overlap in Architectural Shingle Installation
Staggering shingles adds strength and prevents leaks. Cut about six inches off the first shingle in the second row. In the next row, cut about twelve inches, and continue in this pattern. This layout keeps seams from lining up, which improves the roof’s durability. Overlap is also important. Shingles should cover the one below by at least half. Too little overlap allows water in, while too much wastes material. Following the correct layout pattern ensures both beauty and protection for years.
Installing Architectural Shingles Ridge Cap for a Finished Look
The ridge cap is the final touch. To install it, cut special ridge cap shingles or trim regular shingles to fit. Place them along the peak, overlapping each piece so water runs off smoothly. Nail them on both sides of the ridge, making sure nails are hidden by the next cap piece. This step not only seals the roof but also adds a polished look. Without a ridge cap, the roof would remain exposed to leaks and lose its finished appearance.
Common Mistakes to Avoid When Roofing with Architectural Shingles
- Skipping the underlayment
The underlayment acts as a moisture barrier between the roof deck and the shingles. Without it, even a small amount of water can seep through nail holes or seams and damage the wood underneath. Over time, this leads to rot, mold, and costly repairs. Always install felt or synthetic underlayment before shingles. - Improper nailing
Nails are what hold shingles in place, but if they’re driven too high, the adhesive strip won’t seal properly. If they’re driven too low or angled, shingles may crack or loosen. Nails that are overdriven can tear through the material, leaving the roof weak. Always use the right number of nails, placed straight and flush. - Not staggering shingles
A staggered pattern prevents seams from lining up in straight vertical lines. When seams are aligned, water can follow a path straight through the roof. Staggering distributes joints across the roof, which makes it stronger and more watertight. This is one of the simplest yet most important steps. - Poor cutting at valleys or edges
Valleys and edges are some of the most vulnerable areas on a roof because they collect the most water. Shingles that are not cut cleanly or overlapped correctly leave open gaps where water can pool. Over time, this leads to leaks and early shingle failure. Always measure carefully and cut with a sharp blade for precision. - Ignoring attic ventilation
Ventilation is often overlooked, but it plays a huge role in roof health. Without airflow, heat builds up in the attic, causing shingles to age faster, curl, or blister. It can also trap moisture inside, which weakens the roof deck. Proper vents keep the attic cool and dry, extending the lifespan of the shingles. - Overlooking starter strips
Some homeowners skip starter strips and begin with a full shingle row. Without starter strips, water can slip under the first row and cause leaks along the eaves. Starter shingles create a tight seal at the roof’s edge and protect against wind uplift. - Failing to secure ridge caps properly
The ridge cap protects the roof peak, but if it’s poorly installed, water can penetrate at the very top of the roof. Caps should overlap correctly and be nailed in a way that hides fasteners under the next shingle piece. A loose ridge cap can undo the work of the entire roof installation.
Expert Shingle Installation Support in Stafford, VA with Port Solutions
If installing architectural shingles feels overwhelming, professional help is always available. For homeowners in Stafford, VA, the team at Port Solutions offers expert support. With years of experience, we know the best methods, tools, and safety practices for roofing projects. Our crew ensures shingles are installed to industry standards and with attention to detail. Choosing skilled help means peace of mind, a longer-lasting roof, and a home that looks sharp. When you want trusted results, professional guidance makes all the difference.
Conclusion
Architectural shingles provide a stylish, strong, and reliable roofing option. Installing them requires preparation, the right tools, and careful attention to nailing, staggering, and overlapping. From the first starter strip to the ridge cap, every step plays a role in building a roof that lasts. By following proper instructions, you can feel confident about how to install architectural shingles and enjoy a roof that protects your home for years.
If you’re ready for expert roofing support, reach out to Port Solutions today. Our team is here to help you with installation, repair, or guidance for your next project.